
.svg)

In Selenium, interacting with a page element only works if that element exists. That's why checking whether an element is present is one of the first things any test should do. It confirms that the application has loaded the expected content and is ready for the next step.
When you verify element present in Selenium, you reduce flaky failures and improve test reliability. This is especially helpful when testing dynamic apps that load content based on user actions or network timing.
In this article, we’ll cover:
- What is a web element in Selenium?
- How to verify element presence using different techniques
- Tips for testing slow-loading or hidden elements
- Examples using Java and Python
- How Katalon helps simplify element handling
Let’s get into it.
What is an Element in Selenium?

In Selenium, an element refers to any part of a webpage that users can interact with. This includes input fields, submit buttons, checkboxes, links, images, dropdowns, or even entire sections of content. Each of these components is considered a web element.
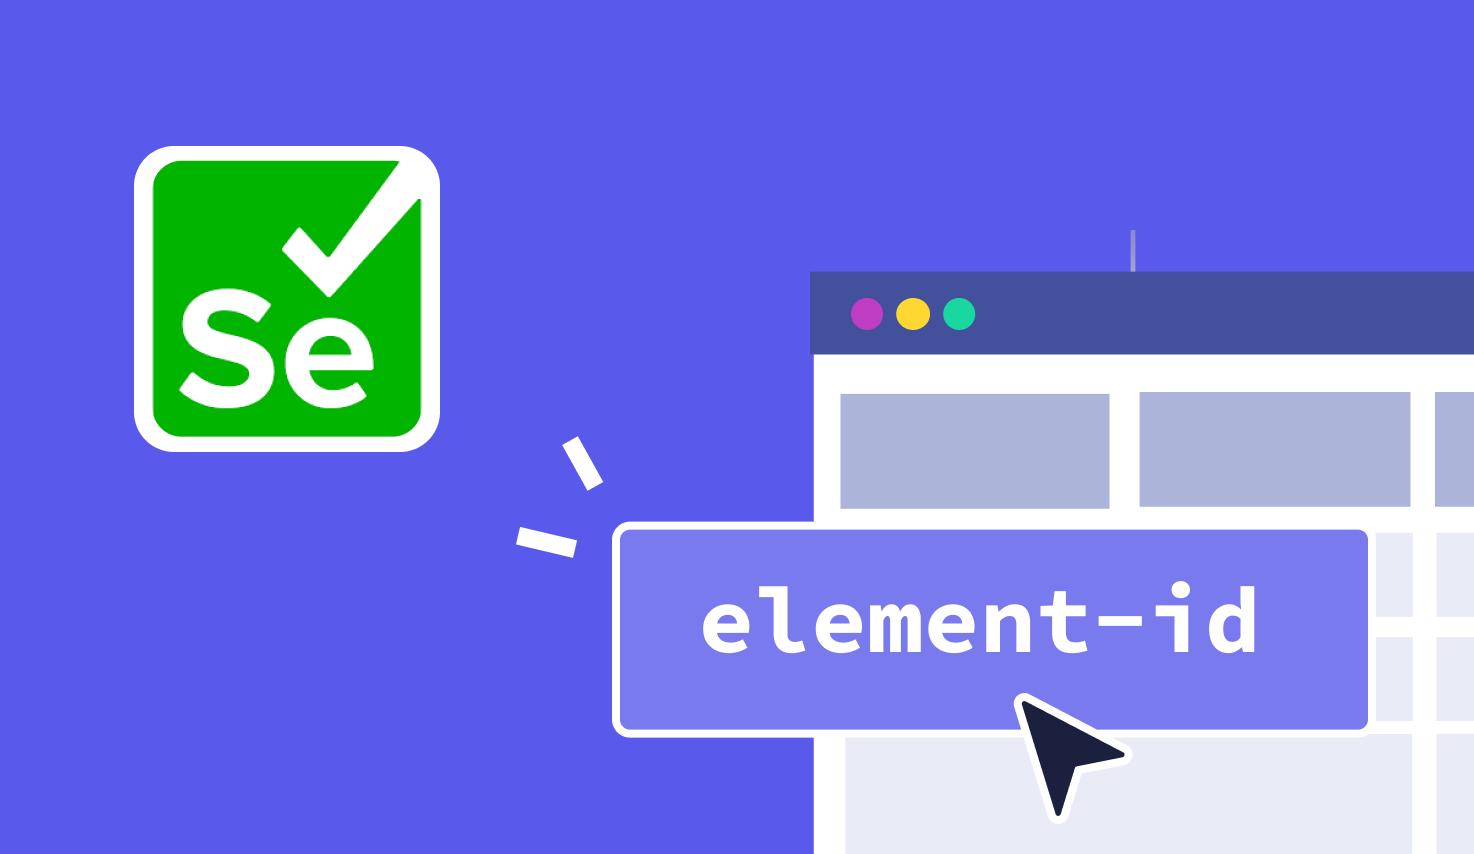
To interact with a specific element, Selenium WebDriver uses locators. These locators identify the element inside the Document Object Model (DOM), which is the HTML structure of the page. Locators can be based on tag names, IDs, class names, CSS selectors, or XPath expressions.
Importance of Checking Existence of Element in Selenium
Verifying whether an element is present ensures the test runs smoothly. This small step prevents interruptions that can occur when the script tries to interact with something that isn't there. It keeps your automation stable and predictable.
For example:
- Optional elements like cookie banners, promotional popups, or language selectors may not appear for every user. Checking if they exist before interacting allows your test logic to adapt to different scenarios.
- Modern web applications often rely on dynamic content that loads after user actions or delays. Instead of rushing to interact, your script waits or branches logically, depending on what appears on the screen.
- You can also design conditional test flows with it. For example, if a certain alert message appears, your test handles it. If it doesn't, the test moves on. This keeps scripts relevant to real-world behavior and user experiences.
Methods to Check if an Element Exists in Selenium
Below are practical strategies that match real-world scenarios. Each can be wrapped in utility functions to keep your code clean and consistent.
Using findElements
This method returns an array. If the array is empty, the element is not present. It is simple and safe.
In Java, this approach works similarly with findElements from the Selenium API. It returns an empty list when nothing matches.
Try–Catch with findElement
Using findElement can throw a runtime error if the element is missing. Wrapping it in a try–catch block offers control and clear handling.
On the official Selenium documentation, findElement throws an exception if nothing matches. This structure lets your script handle presence checks gracefully.
Explicit Waits (WebDriverWait)
This strategy waits until a condition is true, such as when an element appears on screen. It is useful for dynamic UIs and higher test reliability.
Explicit waits are well documented as more reliable than generic pauses. They allow your script to wait just the right amount of time before proceeding.
Using isDisplayed()
After locating an element, you might want to confirm it is visible. The isDisplayed() method provides that check in one step.
This doubles as presence and visibility verification without deep checks.
Custom Utility Functions
Wrapping any of these strategies in a helper function helps your team stay consistent. Use meaningful names and return booleans for clarity.
This function lets your code read like natural language while using best practices underneath.
Advanced Techniques for Element Existence Checks
Beyond the basics, you can elevate your Selenium WebDriver npm scripts with smarter checks.
- Conditional assertions: You can assert based on whether an element is present. For example, if a promo banner appears after login, you can assert its text only when it shows up.
- Dynamic locator strategies: Use flexible locator logic to handle elements whose attributes change. For example, match a partial class name or use ancestor selectors to keep your locator stable.
- Polling intervals: Reduce wait times while keeping reliability. Instead of long static waits, poll at short intervals until the element exists or timeout is reached. Tests stay fast and dependable.
- Shadow DOM elements: Modern web apps often hide parts of the UI inside shadow trees. You need special methods to pierce that boundary and validate whether the element is present inside a shadow root.
These techniques give you more control and reliability when checking element presence. They help your scripts handle complexity with clarity using the selenium webdriver npm package.
Real-world use cases for checking element existence
Checking whether an element exists is one of the most effective ways to keep your test logic clean and responsive. Here are a few real-world scenarios where verifying presence matters in Selenium WebDriver npm tests.
- Login forms: After a failed login attempt, you can check if the "Forgot Password" link appears or if an error message is visible. These subtle shifts help validate both success and failure flows.
- Checkout pages: When promotions are running, you can verify if a discount banner or coupon code section is displayed. This shows the automation can adapt to time-based UI changes.
- Dashboards: You can check for the presence of graphs, widgets, or reports that confirm successful data loads. It ensures users are seeing meaningful content after login or navigation.
- Error handling: If a user enters invalid input, your test can confirm that a warning label or inline error message appears. This confirms that the validation logic works as expected.
Each of these use cases strengthens your ability to verify element present in Selenium with real-world reliability. Whether you're testing login screens or analytics dashboards, these checks bring value to every script.
Common errors while checking elements in Selenium (with solutions)
When you verify element present in Selenium, your test might run into common issues. Here are some of the most frequent ones, along with simple, reliable fixes.
- NoSuchElementException: This occurs when Selenium cannot find the element. You can prevent it by using find_elements(), which returns an empty list if nothing is found, or by applying WebDriverWait to allow time for the element to appear.
- StaleElementReferenceException: This happens when the DOM changes after locating the element. You can resolve it by re-locating the element before interacting with it again.
- ElementNotVisibleException: Sometimes the element is present in the DOM but not visible on screen. To confirm visibility, always check is_displayed() after locating the element.
- TimeoutException: This suggests the element did not appear within the specified wait time. You can solve this by increasing your timeout or refining your locator strategy for better precision.
Each of these adjustments helps your tests handle edge cases gracefully. With these quick solutions, you can continue using Selenium WebDriver npm workflows with confidence and stability.
Debugging element existence issues
Verifying whether an element is present in Selenium becomes easier when you have the right tools and techniques to debug. Every issue tells a story, and the right methods bring clarity fast.
Begin by printing the current page source. This shows you the full HTML structure at the moment of execution, helping confirm whether the target element exists in the DOM.
Next, use screenshots to document what the browser displayed when a test step executed. This visual cue instantly reveals timing mismatches or layout shifts that may affect how locators behave.
Developer tools in your browser are your strongest allies. Use the Inspect tool to interact with the live DOM. The Console tab is ideal for trying out selector strategies before embedding them in code.
For deeper visibility, use JavaScript to highlight the located element temporarily. This visual feedback confirms that Selenium identified the right target during execution. Here’s a quick sample:
Each of these approaches improves your ability to verify element present in Selenium and fine-tune your test logic quickly and effectively.
Best practices for checking elements in Selenium
Following proven practices makes it much easier to verify element present in Selenium with accuracy and stability. Use the checklist below to keep your tests resilient and easy to maintain.
- Use find_elements() when checking for existence. It returns an empty list when no match is found, which helps avoid interruptions.
- Rely on explicit waits instead of fixed pauses. They wait only as long as needed, which speeds up execution while improving reliability.
- Write simple, descriptive locators. Clear selectors reduce ambiguity and improve test clarity for all team members.
- Centralize locators in page objects or constants. This makes updates faster when UI changes happen.
- Combine element checks with assertions that validate expected behavior. This confirms not only that something exists, but that it serves the right purpose.
These tips make element presence checks in Selenium more predictable and efficient, especially when working with dynamic pages or scalable test suites.
Useful resources for automation testing in Selenium
Expanding your skill set in Selenium automation becomes much easier when you have the right resources on hand. Whether you're just getting started or looking to refine your ability to verify element present in Selenium, these trusted links offer practical knowledge, hands-on training, and expert techniques.
- Selenium Official Documentation: deep dive into APIs, commands, and usage patterns.
- Community tutorials and blogs: real-world walkthroughs of locator strategies, handling dynamic content, and optimizing WebDriver behavior.
- Katalon Docs: powerful guidance for extending Selenium’s capabilities with built-in locators, test orchestration, and seamless integrations.
- Katalon Academy: hands-on, guided training programs that help teams master automation faster.
Bookmark these pages as part of your automation toolkit. They will support your learning curve and help streamline how you check for element presence across modern applications.
Why choose Katalon to automate tests?

Katalon brings the power of Selenium into a modern testing platform that simplifies every aspect of automation. It’s built for teams who want to automate faster, scale smarter, and manage test quality with confidence. While Selenium WebDriver provides the core engine, Katalon transforms it into a complete solution for both beginners and professionals.
With the Katalon Platform, you can automate title checks, verify element present in Selenium, and handle dynamic elements, all without managing complex scripts from scratch. Its intuitive interface helps you create tests quickly, reuse them easily, and maintain them with far less effort.
- Unified Platform: design, execute, manage, and report test results in one connected workspace.
- Cross-Browser & Cross-Platform: launch tests across a wide range of real browsers and operating systems, no manual setup needed.
- Scalability: run tests in parallel or integrate with cloud services and CI/CD tools like Jenkins or Azure DevOps.
- Smart Test Maintenance: automatically adjust to UI changes using self-healing locators powered by AI.
- Built-in Test Management & Analytics: gain visibility with detailed reports, screenshots, and visual dashboards.
FAQs about checking elements in Selenium
1. Can I check if an element exists without exceptions?
Yes. You can use find_elements() to safely verify element present in Selenium. It returns an empty list if the element is not found, allowing your script to continue running smoothly.
2. What if multiple elements match the same locator?
Selenium handles this by returning a list of matching elements. You can access them by index, loop through the list, or filter based on additional conditions.
3. Does headless testing affect element checks?
Not at all. Element detection in headless browsers like Chrome or Firefox works just the same as in full-browser mode, provided the page structure remains consistent.
4. Should I use XPath or CSS selectors when checking for elements?
Both work well. Choose the one that is simpler, shorter, and more stable for your specific application. For many teams, CSS selectors offer faster performance and easier readability.
|