.svg)

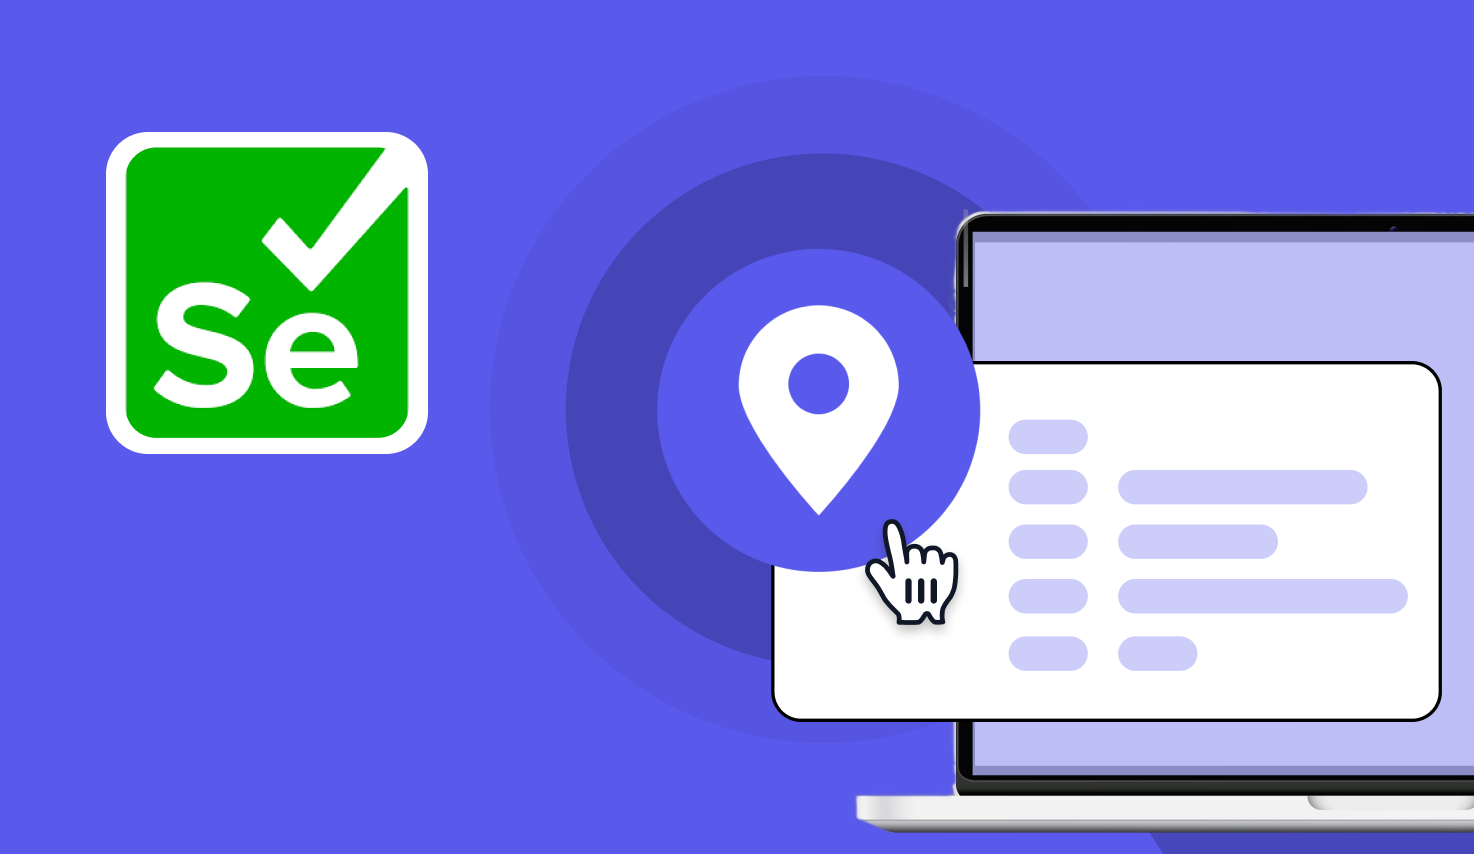
Locators in Selenium: Types and Examples
Learn with AI
Every action you automate in Selenium starts with one thing: finding the right web element. That’s where locators come in. They guide Selenium to the exact button, input field, or text box it needs to interact with.
Locators in Selenium are essential. Without them, you can't click a button, fill out a form, or verify if a message appears on the screen. They're the foundation of every test case you write.
In this article, we’ll walk you through:
- What are locators in Selenium?
- What are Selenium locators used for?
- How relative locators work in real projects
- Types of locators in Selenium and when to use each
- Best practices and troubleshooting tips
Let’s get started!
What are Locators in Selenium?
Locators in Selenium are methods used to find and interact with web elements during automated testing. They help you target specific parts of a web page so that Selenium can perform actions like clicking, typing, or checking values.
Every web page is made up of elements. These include input fields, buttons, links, images, and more. When you automate a login process, you need to locate the email field, the password box, and the submit button. That’s where locators come in.
You might use a locator to find the “Search” box on a product page. Or to identify the “Add to Cart” button next to a product image. You can even use locators to verify if a success message appears after a form is submitted.
Precision matters. When your locator identifies the right element, the test runs smoothly. But when it points to the wrong one, the script clicks the wrong place or enters data in the wrong field. That’s why writing accurate locators is a core skill in Selenium automation.
Locators in Selenium give your tests the power to behave like a real user. They let you control what to test and how to interact with the interface in a stable, reliable way.
What are Selenium locators used for?
Selenium locators are used to tell your test script exactly where to look and what to interact with on a web page. They make it possible for Selenium to behave like a user who knows where to click, type, or read.
When you want to click a button, you use a locator to find it. If you want to enter text into a form field, the locator tells Selenium which field to use. You can also use locators to extract product names, prices, or messages from the page after an action is completed.
Examples of locators in Selenium
Let’s take a simple checkout flow. First, your test uses a locator to click “Add to Cart.” Then it uses another locator to open the cart. The checkout button, the delivery address field, and the payment form: all require locators. Without them, Selenium can’t complete the flow.
Locators in Selenium enable you to automate real-world actions from start to finish. They ensure your tests are accurate, repeatable, and meaningful. That’s what makes them so important to every test you write.
Common Use Cases of Relative Locators in Real Projects
Relative locators are especially useful when traditional locators like ID or Class are missing or inconsistent. They let you find elements based on their position relative to others. This works well in real-world projects where layout matters just as much as attributes.
Here are a few practical examples where relative locators help you build smarter tests:
- Login pages: You can find the password field by locating it just below the username field. This is helpful when the password input has no unique attributes.
- Product listings: You can target the price label that appears directly under a product title. Or locate the “Add to Cart” button placed just beneath the product image.
- Form validation: When a user enters invalid input, an error message often appears beside the field. Relative locators help you find these messages based on their position next to the input.
- Dashboards: Many dashboards display widgets or indicators near headings. You can locate a chart that sits beside a title or a status badge placed next to a user name.
These examples show how relative locators in Selenium make your test cases more readable. Instead of relying on deep XPath queries, you describe elements by their relationships. That’s the way humans see a page.
This approach gives you flexibility. It reduces the need for hard-coded selectors and makes your tests more adaptable to UI changes. That’s why relative locators are a strong addition to your Selenium toolkit.
📚Read more: Relative Locators in Selenium: Types and Examples
Relative Locators vs Traditional Locators
Traditional locators like ID, CSS Selector, and XPath have been used in Selenium since the beginning. They are fast, direct, and widely supported across frameworks. More recently, relative locators in Selenium were introduced to solve layout-based targeting challenges. They bring new flexibility to test automation.
Here’s a comparison to help you decide when to use each type:
| Aspect | Traditional Locators | Relative Locators |
|---|---|---|
| Stability | Highly stable when using unique IDs or names | Helpful when IDs are missing or change frequently |
| Readability | XPath and CSS can be long and detailed | Easy to read and describe using element position |
| Maintainability | Needs updates if UI structure or attributes change | Can reduce effort in dynamic or visual layouts |
| Flexibility | Great for targeting complex or nested elements | Best for visual or spatial relationships between elements |
This comparison shows that both locator types serve a purpose. Relative locators in Selenium don’t replace traditional locators. They work alongside them to make your tests more adaptable and expressive.
The best strategy is to match the locator type to the structure of the page. Use what fits the use case, and you get better test coverage with less effort.
Which is the most Effective Locator for Selenium?
The most effective locator in Selenium depends on your application and the way elements are structured. There is no single best choice for every situation. The right one is the locator that offers speed, stability, and long-term maintainability in your test suite.
- ID is often the first choice when it is available. It is unique, fast, and easy to read. If your UI assigns consistent IDs to elements, this locator is a great fit for high-performance test scripts.
- When IDs are missing, CSS selectors work well for styling-based targeting. They handle layered elements and attribute-based filters smoothly.
- XPath offers even more power. You can use it to move across different parts of the DOM and combine multiple conditions.
Which Selenium Locators to use when?
Locators in Selenium provide multiple ways to identify elements, but each has its own ideal use case. Selecting the right one depends on the attributes available on the page, how stable those attributes are, and how complex the DOM structure is. The better your locator choice, the more reliable and maintainable your test scripts become.
- By.id() – Your first choice for stable elements
If an element has a unique, static ID attribute, always start with By.id(). It’s the fastest and most direct locator because browsers can resolve IDs natively without extra computation. This keeps your tests simple and speeds up execution. - By.name() or By.className() – When IDs aren’t stable
If the ID attribute is missing, duplicated, or dynamically generated, try By.name() if the element’s name attribute is unique, especially for form fields. If the name attribute is also unreliable, By.className() can work, but be careful with classes that are shared across multiple elements. - By.cssSelector() or By.xpath() – For complex or nested structures
When the element is buried in a complex DOM or when you need to chain multiple attributes, By.cssSelector() is often cleaner and faster than XPath for most modern browsers. Use By.xpath() only when you need very specific structural relationships (such as traversing up the DOM) or when the page lacks sufficient IDs, names, or classes to form a reliable CSS selector. - By.linkText() or By.partialLinkText() – For hyperlinks
If you’re targeting links, By.linkText() matches the full visible text exactly, making it clear and easy to read. When only part of the link text is stable or consistent, By.partialLinkText() lets you match just a fragment, which is useful for dynamic text changes. - Relative locators like above(), below(), or near() – For layout-based targeting
Selenium 4 introduced relative locators to let you find elements based on their position relative to others. Use these when the page lacks reliable attributes but the layout is predictable. For example, you can identify a label and then locate an input directly below it without relying on brittle selectors.
Always choose the locator that is simple and reliable. A short, stable locator is easier to maintain and easier to read. That helps your team move faster without guessing which element is being tested.
Selenium locators are flexible. When you match the right type to the right task, your automation becomes smoother and your tests stay solid through UI changes.
Best Practices for using Locators in Selenium
Writing strong locators is one of the easiest ways to improve test stability. These best practices help you build automation that lasts longer and works more smoothly across UI changes.
- Use unique IDs whenever possible.
IDs are fast, stable, and easy to read. If an element has a unique ID, use it to keep your locator short and efficient. - Choose locator types that match the structure.
Use CSS selectors for simple layouts. Use XPath for complex paths. Use relative locators when elements are placed near each other. - Use descriptive names in your locator repository.
A clear name like loginButton or emailInputField makes it easy for any team member to understand and reuse. - Favor CSS selectors over XPath when performance matters.
CSS selectors are generally faster. They also work well in most browsers and are easier to write for common patterns. - Keep locators centralized and reusable.
Store all locators in one place. This makes maintenance easier when the UI updates and helps teams work in sync. - Review and update locators regularly.
As your app evolves, your locator strategies should evolve too. Refreshing them keeps your tests accurate and aligned with the product.
Following these practices helps reduce rework and improves the quality of your locators in Selenium. It also speeds up collaboration, especially when your team scales or your application grows more complex.
Troubleshooting Relative Locators
Relative locators in Selenium are helpful when elements are positioned near each other on the screen. They work well in many real-world scenarios. Still, like any locator strategy, they benefit from careful validation and thoughtful use.
- Wrong element being selected
When multiple elements meet the same condition, Selenium might pick the first match. This can happen when two fields are placed below the same label. To improve accuracy, refine the reference element or combine more than one condition in your locator. - Overlapping elements
Some layouts place icons, tooltips, or banners on top of other elements. Selenium may interact with the top layer. Before clicking or typing, check that the right element is visible and not covered. You can also confirm its layer using styles or custom attributes. - Dynamic layouts
Responsive pages adjust based on screen size. This changes the position of elements. Relative locators work best when the layout stays consistent. Use waits, validate the DOM, and pair relative locators with other attributes when the layout is fluid. - Ambiguity in “near()”
The near() method targets elements that are visually close. When several elements sit near the reference, the result may be unclear. Use “near” with caution and combine it with another locator type to confirm the exact target.
Every locator needs a quick validation step. When you confirm that your relative locator selects the right element, your test becomes more stable. This small habit helps you avoid issues before they affect the whole test flow.
|
FAQs
What are locators in Selenium?
They’re methods used to find and interact with web elements so Selenium can click, type, or verify content during automated tests.
What are Selenium locators used for in real test flows?
To target elements like fields, buttons, links, messages, and complete end-to-end flows such as login, add-to-cart, and checkout.
What is the most effective locator in Selenium?
It depends on the page, but By.id() is often best when IDs are unique and static because it’s fast, direct, and easy to maintain.
When should you use CSS selectors, XPath, or link text locators?
Use CSS selectors for many common patterns (often cleaner/faster), XPath for complex structural relationships, and By.linkText() / By.partialLinkText() for hyperlinks.
What are Selenium relative locators, and when are they useful?
Relative locators (like above(), below(), near()) find elements by position relative to others—useful when IDs/classes are missing but the layout is predictable (e.g., error message beside an input, password field below username).